
It’s obvious when a photographer is hard at work with a camera in hand, moving around to find the best light, or adjusting studio flash settings. But what most people don’t get to see is the work that goes on behind the computer after all the portrait sessions have ended.
In fact, many photographers can end up spending just as much time sorting through images and editing them as they do taking the pictures in the first place. This really is necessary to make sure that the image is the absolute best it can be.
Let’s have a look at an image of Evie and see what editing I did to this image and the difference it can make. This one was great straight out of the camera, but there is always a little more can be done to get it just purr-fect (sorry).
Unedited vs Basic Edit
Here is a comparison between the unedited version (left), and a version with some basic adjustments (right). You can move the slider back and forth to see less or more of each image.
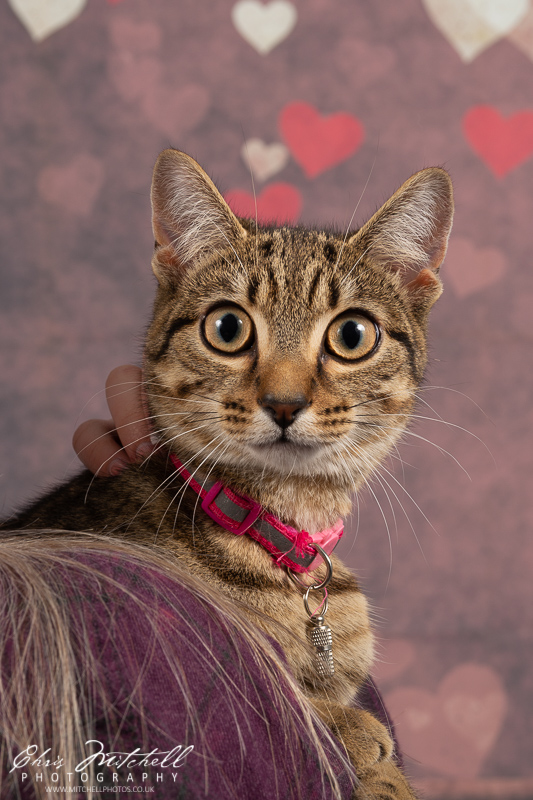
The adjustments made here are where I start when adjusting an image. They include making sure the image colours are correct (white balance), adding in some contrast and adjusting the tones of the darker and lighter areas of the image to where I feel the overall look is best. A little boost is given to vibrancy of the colours, just to help give the image a little pop.
There is also some adjustment to remove any distortion that the particular lens I am using from my subject, which is why you may see the edges of the cat adjust slightly between the images.
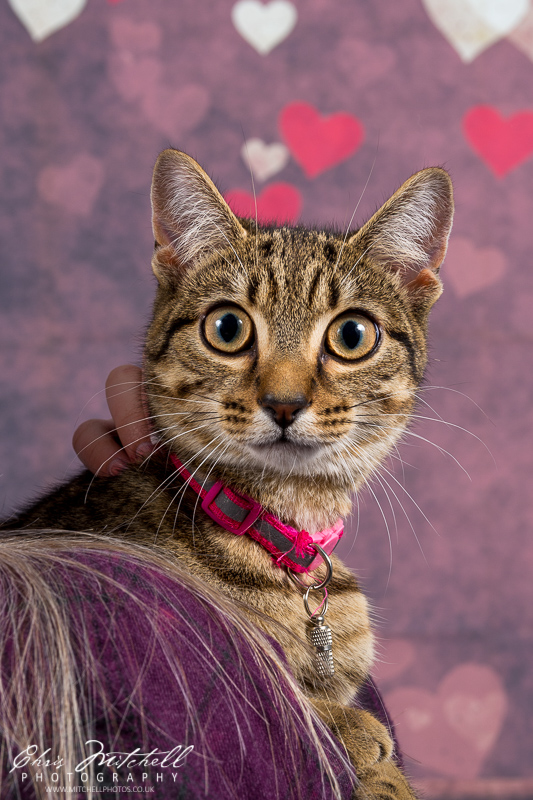
Basic Edit vs Final Edit
Already, you can start to see the difference between the two images above, but there is still a little more that can be done. The next comparison is between the basic edit (now on the left) against the final edit (on the right).
Again, use the slider to view more or less of each image.
To really tidy up and finalise the image, the brightness of Evie was raised up a little to really help her stand out. Additionally, a little bit of clarity was introduced, just to really bring out the texture of her fur and bring some attention to the eyes.
Finally, the image was sharpened up and a subtle vignette added to help draw the eye into the image.
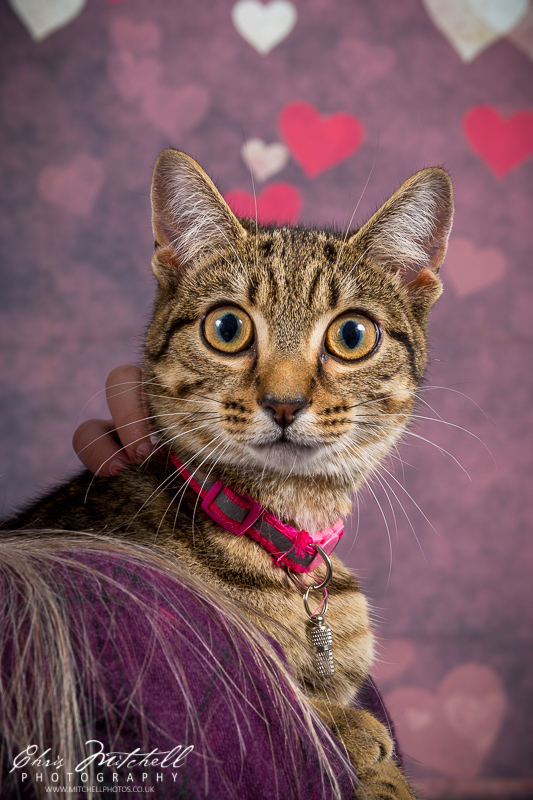
Unedited vs Final Edit
And here is the final comparison between the original unedited version and the final edit. The difference between them is much more noticeable. This shows how the subtle manipulations above stack up to give an image that final edge.
Thinking about getting a pet portrait session? Check out my article on reasons why.
Author: Chris Mitchell
Chris captured lasting memories of more than fifty furry family members in the last year. He provides high quality prints for display, but his real passion is getting images that really show off the personality of a pet. Get in touch to arrange a pre-booking consultation.